|
|

|
COME INTO THE LIGHT
|
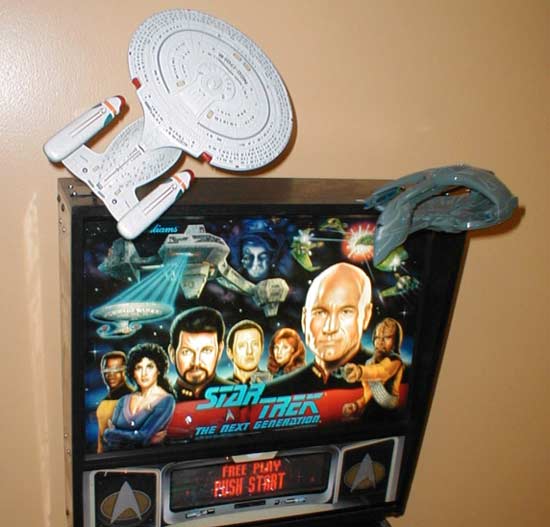
| Dane Deal shows us how to battle the evils of backbox overheating and dark spots on your playfield with some innovative lighting ideas. Since I bought my Star Trek Next Generation a little more than I year ago, I’ve been curious about the temperatures inside the machine and worried about the loads being placed on the aging power supply circuits. There are heat sinks everywhere in the head of the machine and airflow seemed like it would be restricted by the tangle of ribbon cables, so I placed a temperature probe in the center of the controls box. I found that after 30 minutes of play the center of the controls area was 35 degrees above the ambient room temperature.
Loving to tinker with things, I decided to lower the temperatures inside the machine and shed more light on the playfield. I like to play with the room lights dim ( the strobe flashes are much more impressive ) and several areas of the playfield were a bit too dark for my eyes. I will be providing part numbers, suppliers' names and prices. There is nothing magical about the parts I used or where I bought them. You may find better items at a cheaper price by shopping around. I decided to buy a cheap 12-volt DC power supply and run my modifications from it. This reduced the load on the game's power supply and gave me the freedom to add just about anything without worrying about the current load . The new power supply was simply placed in the bottom of the main cabinet. I wired its 120volt AC supply into the main on/off machine switch so the power supply would be turned on with the game.
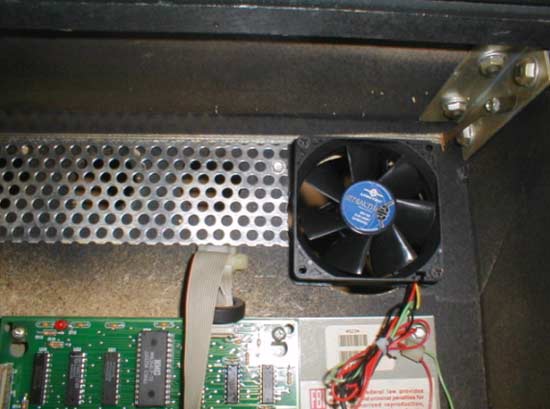
Cooling: First I removed the screen covering the vent holes in the top of the cabinet and placed a small (40mm) cooling fan over five of the holes and powered them from my new 12VDC supply. The fans were cheap (less than $2 each) but were noisy. I tried installing a potentiometer in line to slow them down, which did help. Problem #1 was that the fans were screwed directly to the cabinet, which placed the fan blade tips very close to the cabinet, increasing their noise. Also, the multiple fans set up a slow throbbing "resonance". I removed them and went on to plan B For my next try I purchased a high quality, low noise 80mm cooling fan (Vantec Stealth 27cfm, $5.95) and installed it in the back of the cabinet in the upper right. This was an open area so nothing had to be moved and a standard 3" wood hole saw made the cut quick and easy. I laid newspapers over all the controls and taped the edges to keep any sawdust from getting into the controls. Again, this new fan was powered from my new 12VDC supply.
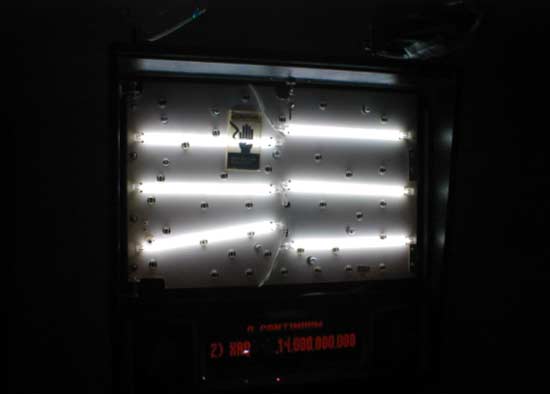
The new fan works beautifully. In a totally quiet room you can hear a very slight hum, but when playing the game you cannot hear it. Temperatures inside the head of the machine were lowered by 20 degrees, which still left them about 15 degrees above ambient. Next I got to work on lighting. I figured that a lot of heat was being generated by all the #555 bulbs illuminating the back glass. I removed all the #555 general illumination bulbs but left the flash bulbs in place. I installed six 12-inch long, white cold cathode tubes to light the back glass. These tubes are sold to illuminate personal computer cabinets. The ones I bought were packaged with two tubes, their power supply and wiring harness for $4.95 (www.case-mod.com).
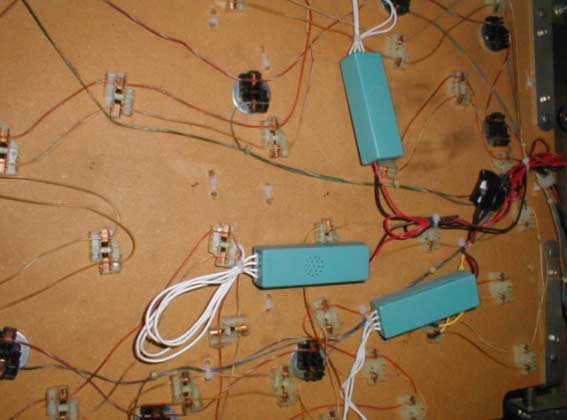
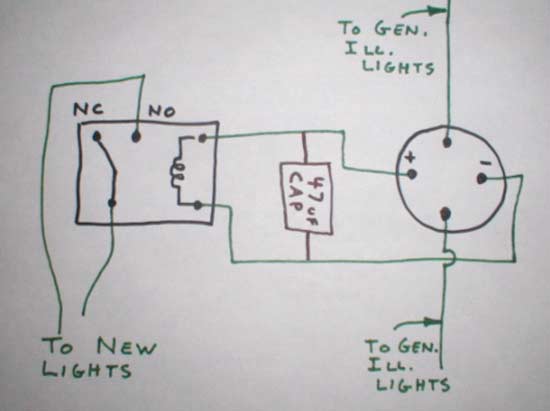
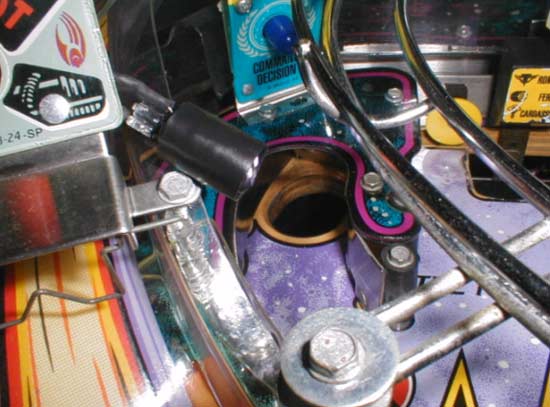
The cold cathode tubes came with double-sided tape to mount them, but the tape failed after a couple days, so I drilled holes through the light board and used wire ties to hold them in place. Be careful not to drill through into anything important. The tubes’ transformers are simply wire tied on the back side. The black bundle next to the red/black wires is the relay circuit controlling the new lights. The cold cathode tubes are controlled by a simple relay circuit that turns them on/off with the general illumination lights which preserves the light show at the end of the game, Borg attack, shuttle mission… The relay circuit allows the game’s general illumination circuit to turn on my additional lights without mixing the currents. I create a direct current from the game’s general illumination circuit to energize the relay and turn on my new lights. Without the bridge rectifier and capacitor, the relay will buzz. I used a 5-volt relay (Radio Shack #275-240), a bridge rectifier (Radio Shack #276-1152) and a 47uf capacitor, all of which can be assembled into a pretty small package. I did not calculate the capacitor value needed. I had several lying on my workbench and I kept trying larger ones until it worked (I know there is an Electrical Engineer out there somewhere shaking his head). I soldered two wires onto a lamp base under the playfield in the G.I. circuit and ran them to the AC inputs of the bridge rectifier. The outputs of the rectifier go to the relay’s coil with the capacitor bridging in between. One leg of the power (+) from my newly added power supply goes to the common lead of the relay. My new lighting circuit was then connected to the normally open (NO) contact on the relay. The other lead (-) from my power supply went directly to my new lighting circuit.
The tubes provide a pure white light that evenly lights the back glass. When I get the time, I plan to move the upper and lower row of tubes up/down a couple inches. I have plenty of light in the center but could use some more at the top and bottom. Removing 35 of the #555 bulbs and replacing them with the tubes reduced the machine temp by 3 degrees.
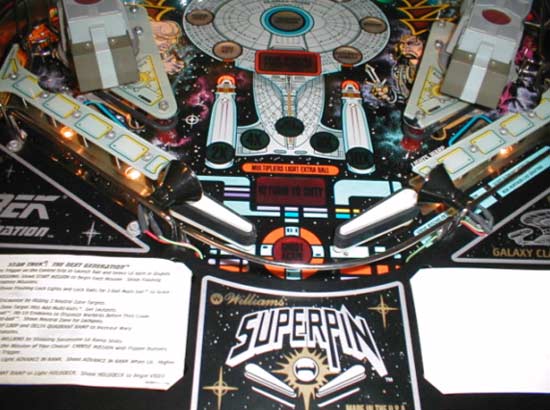
Next I started playing with white LEDs on the playfield. I chose LEDs since they would last forever and produce almost no heat. First I tried automotive LEDs that plugged directly into the existing lamp sockets. For the most part they were too dim or put their spot of light in the wrong spot so I would have to do something more custom. NOTE: All of my newly added LEDs on the playfield are controlled by a duplicate relay circuit identical to the one controlling the back glass lights. All my new lights go on/off with the general illumination lights; so when the Borg attack, the playfield goes dark… I installed two #555 lamp bases with reflectors near the bottom of my playfield. I found a #555 automotive LED bulb that has four small, white LED aiming straight forward and are designed to work on a 12-volt circuit (www.superbrightleds.com #WLED-W4 $2.59 each). These lights provide a nice general illumination over the lower playfield, while the black reflectors prevent glare.
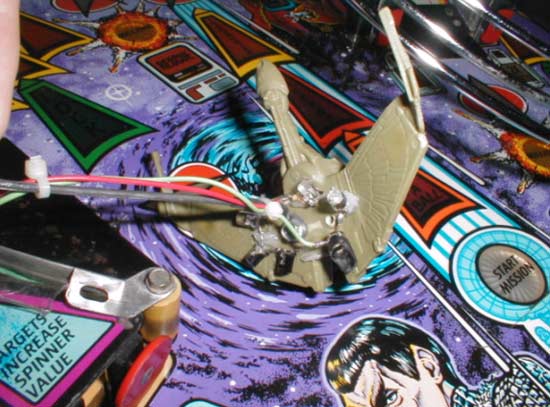
Next I replaced the two bulbs under the Klingon Bird of Prey with six individual white LEDs (www.superbrightleds.com #RL5-W6030, $.99 each). The LEDs and their resistors (more on that in a second) are held in place with dabs of clear silicone caulk. I slid small pieces of shrink-wrap tubing over the bulbs to control glare where needed. Also, LEDs have a lens on the top that focuses their light into a bright spot. I cut the rounded tip of the LEDs off using a sharp knife. It does not need to be a good cut, just get rid of the lens. Removing the lens makes them produce a nice broad, non-focused light.
LEDs need to be fed the proper current in order to work properly. They will produce most of their light at the rated voltage and current levels and overdriving them only makes slightly more light while greatly reducing their life. Also, even though LEDs are diodes, they are not very good diodes, so make sure you keep the polarity (+ and - ) correct. Here is a link to a website that will automatically calculate the size of resistor you need depending on the LED’s you are using (http://wolfstone.halloweenhost.com/techbase/litled_LEDCalc.html ). My individual LEDs are 3.4 volt and 30 milliamp. I wanted to shine some light on the Romulan ship so I have an LED shining on it. I have the wires holding the LED up above the “advance in rank” board so the LED is just under the glass. Getting the LED up high helps illuminate the top of the ship in addition to the front.
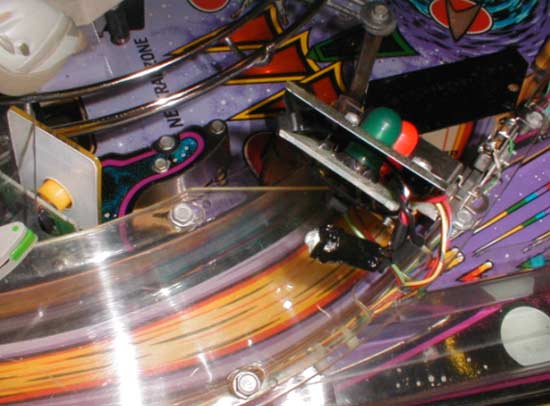
Here is a LED ( www.superbrightledleds.com #7443-W9 $5.99) illuminating the upper playfield area. I’ve wrapped the bulb and made a shroud with electrical tape so you cannot see any of the bulb (no glare) when playing the game. This bulb is made for 12 volts so no resistor is needed.
Not shown in the pictures are the are the LEDs (#RL5-W6030) I installed underneath the Borg ship, aiming down. They provide additional light to the pop bumpers and upper playfield area. I also have a LED shining from behind the Borg ship onto the decorated plastic underneath the ramps bringing out some of the details that are usually lost in the darkness. In general, the individual LEDs are so tiny and easy to mount and hide that I ended up illuminating any dark spots on the playfield. Thanks to Dane for sharing his ideas and modifications. You can contact him at: Cold cathode tubes can also be used on modern Stern games to add light to the darker top and bottom of the translite or to completely replace the factory-fitted fluorescent lighting to provide more even illumination or add new lighting effects.
|