 |
|
PIN-VOL
EXTERNAL |
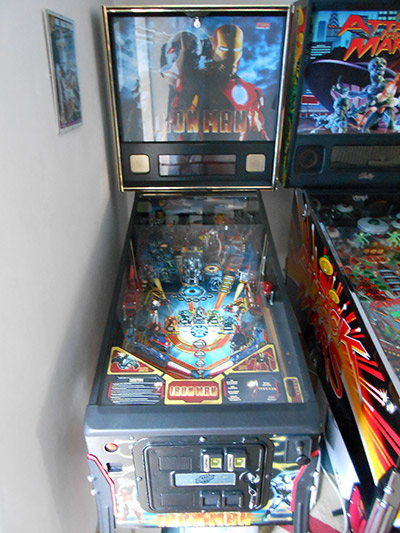
Report by Ivan Miles Martin from Pinball News supplied me with a goody bag containing a Pin-Vol external volume control kit, so here’s my take on fitting the kit to my Stern Iron Man.
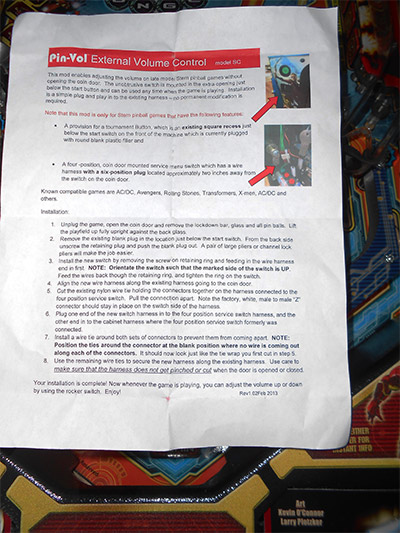
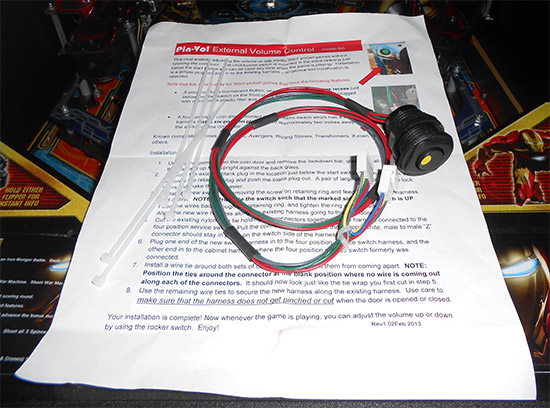
I opened the bag and retrieved the sheet of instructions. They look simple and easy to follow.
The instructions say to first check for the provision of a cut-out for a tournament button, which it has, just below the start button on the left.
They also say to check for a four-position, coin door mounted service menu switch, which has a wire harness with a six position plug located just by the coin door. Good news - I have that too.
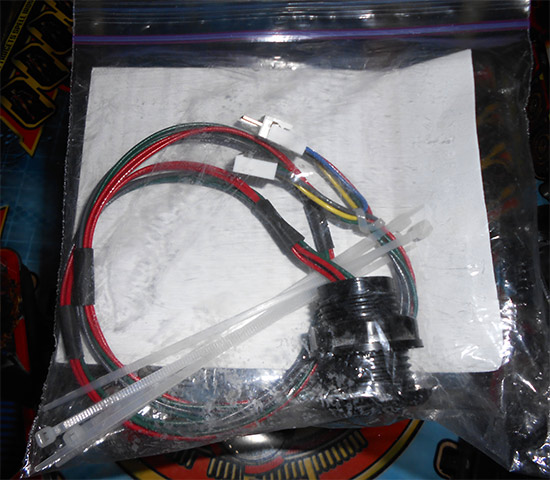
Our goody bag contains just a few items: the switch, a wiring harness, and some cable ties.
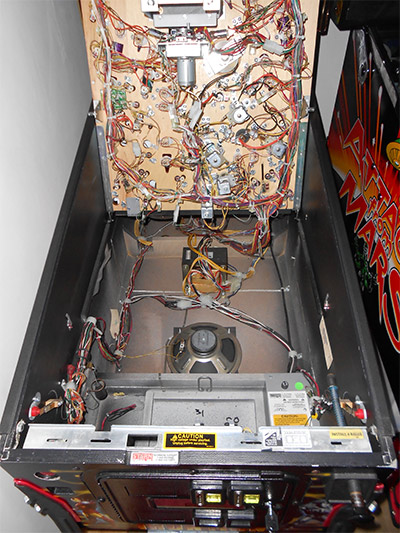
So, moving swiftly on. Out with the glass and balls, and then up with the playfield. Given the stiffness of the nut we will have to undo in a minute, it’s best to secure the playfield when it’s in the up position so it doesn’t come crashing down on your head. Or at the very least, have someone else hold it for you.
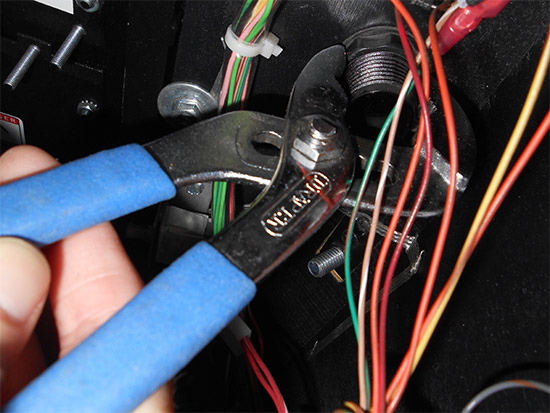
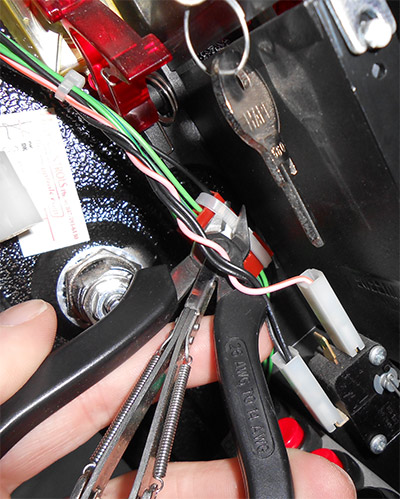
The next job is to undo the nut holding the tournament button blanking plug. This was pretty tight on mine, so see warning about safety above!
I used an adjustable wrench to slacken off the nut.
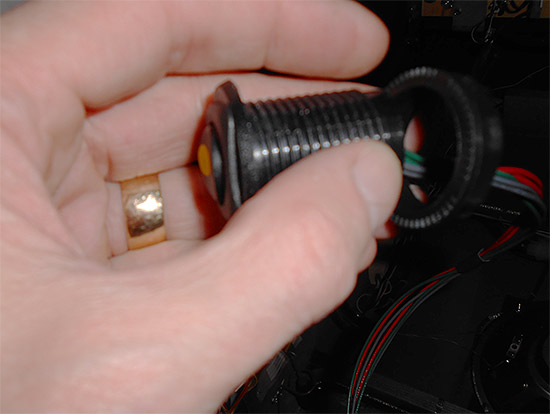
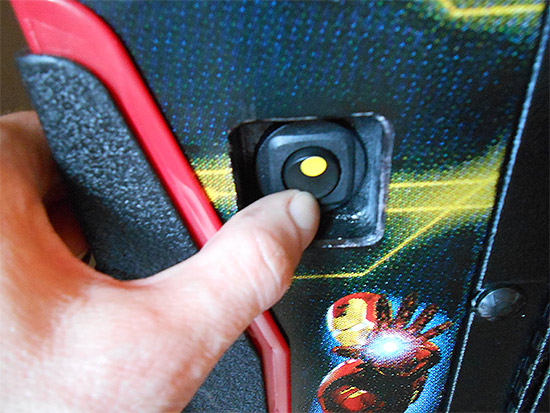
Once it is loose, you can spin it off with your hand and then remove the blanking plug. Then remove the nut from the new Pin-Vol button and orientate the button so that the yellow spot is at the top.
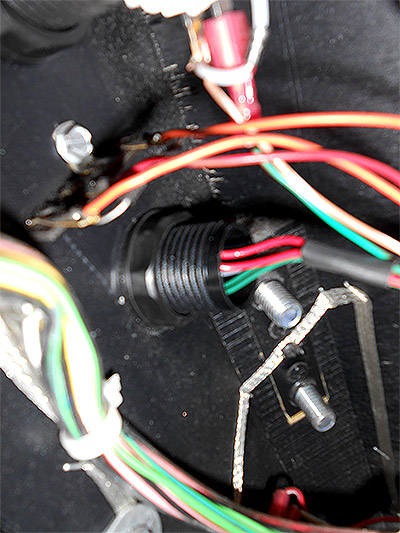
Next, thread the wiring harness through the tournament button hole from the front.
Screw the nut on the other side, inside the cabinet.
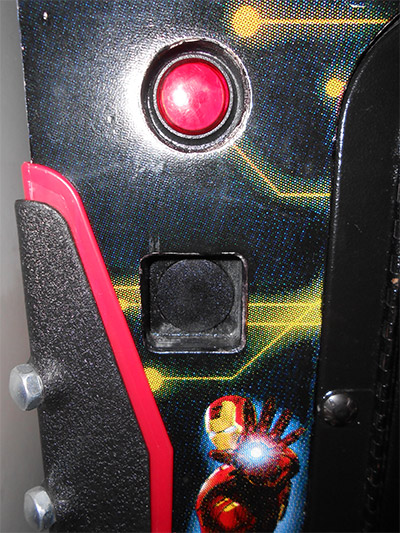
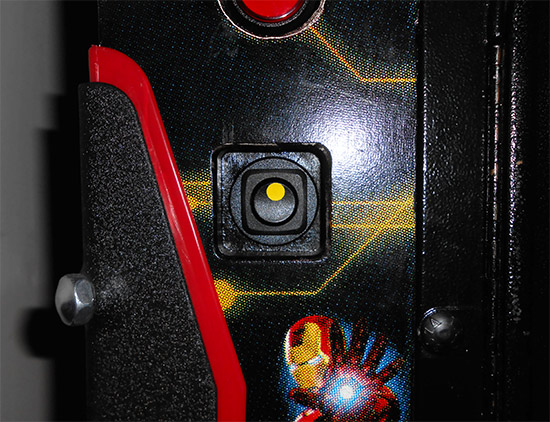
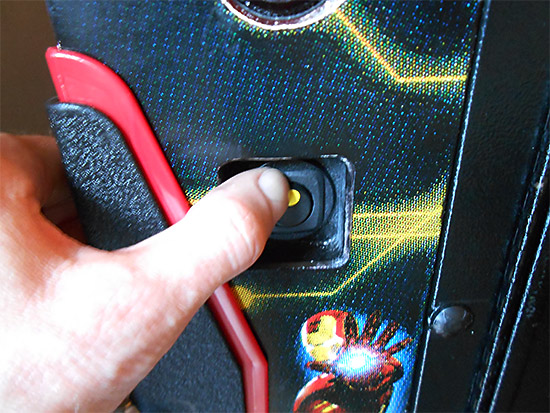
So it ends up looking like this from the front:
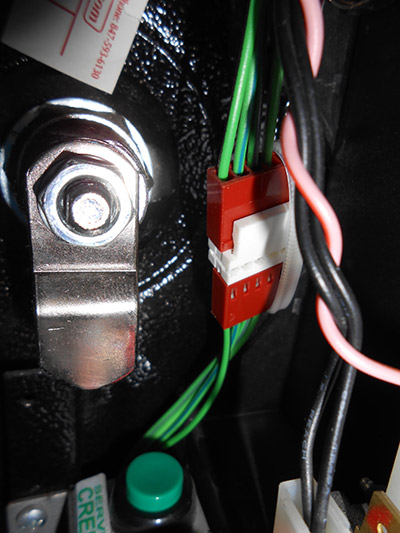
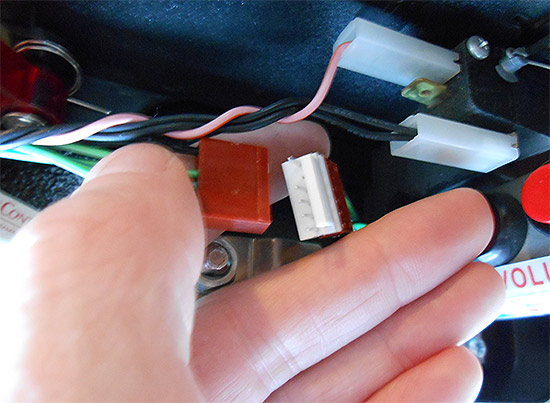
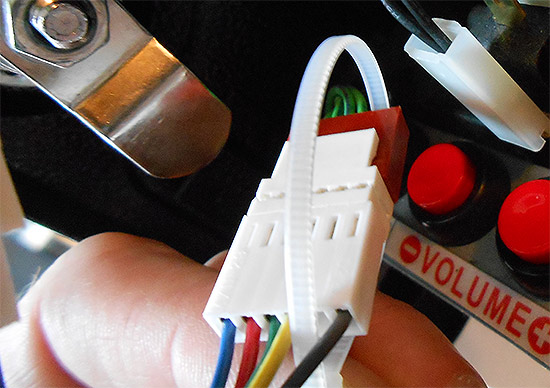
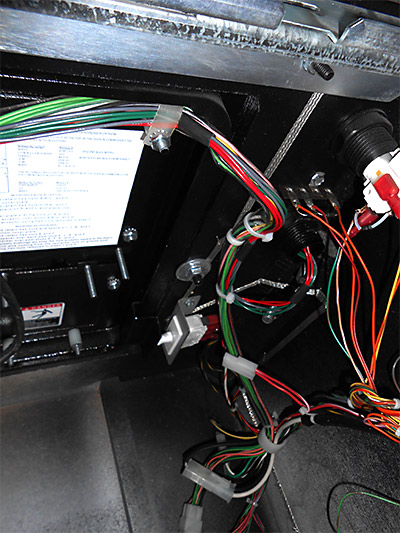
Then it is time to connect the switch to the game's wiring, starting by snipping the cable ties holding together the six-pin connector.
Then separate the connector, leaving the white male to male ‘Z’ connector plugged in to the switch side of the harness.
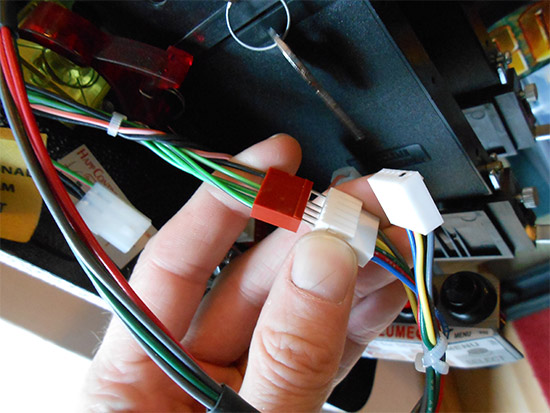
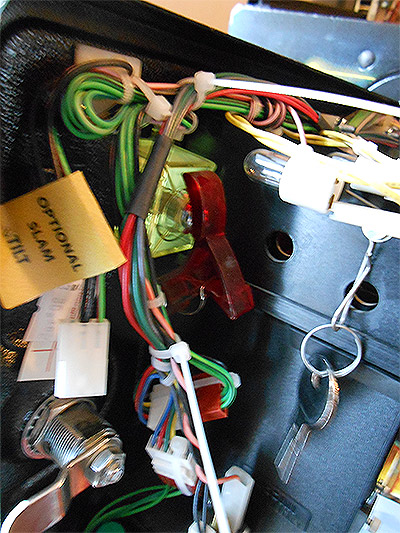
Plug one end of the new harness into four position service switch harness and the other end into the cabinet harness.
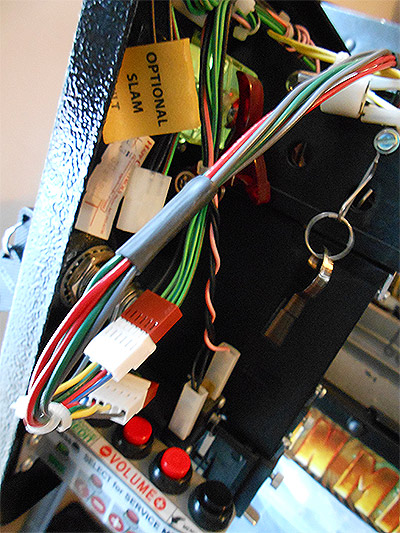
Use the supplied cable ties to secure the connectors and prevent them coming apart.
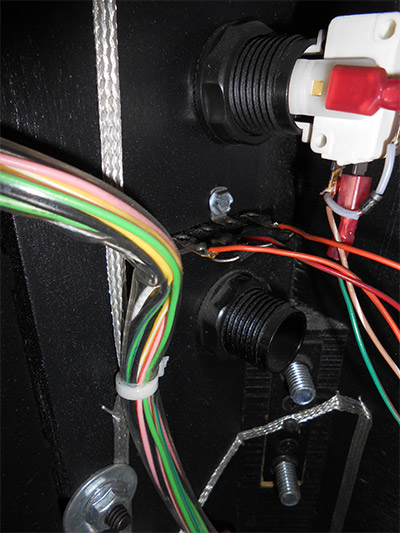
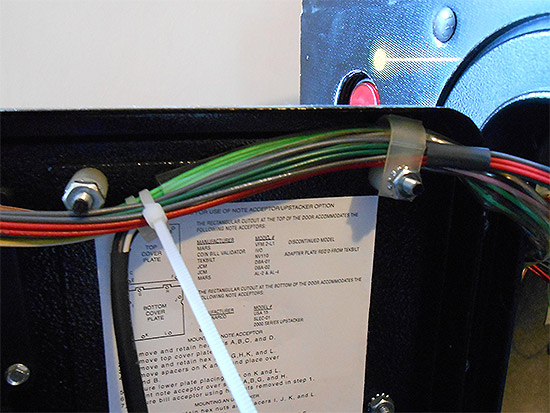
Then position and tighten the remaining cable ties to tidy the new switch wiring harness and attach it to the existing harness.
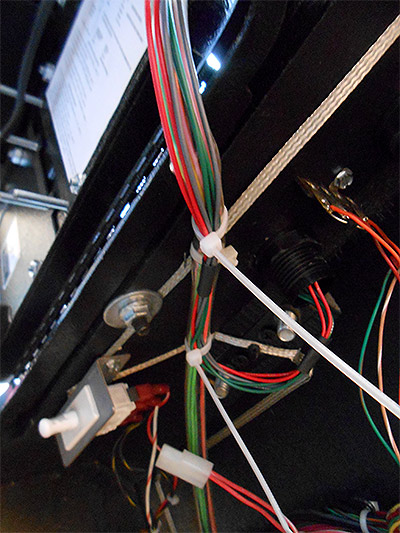
Take care so that the harness is not going to be pinched when you open or close the coin door. I put a couple more cable ties on just to make sure of that.
While the playfield is still up, it’s easy to see whether anything is getting pinched when you open or shut the coin door
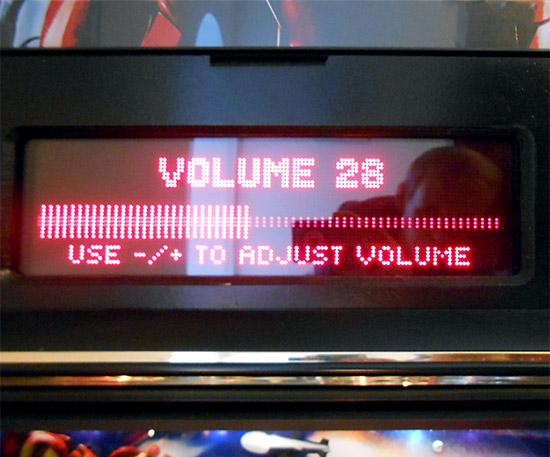
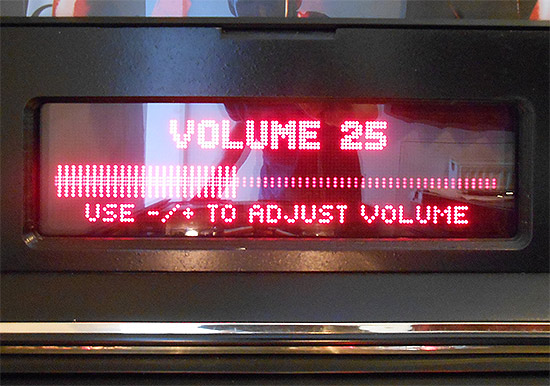
Then the playfield was lowered and the game was switched on. Pressing the button up, increases the volume...
Then balls were reinstalled in the game and the playfield glass put back along with the lockbar. It was time to play!
In my opinion this is simple to fit and is a ‘nice to have’ mod. If you don’t like to leave the keys in the door when there are children around it’s ideal. Another example is if the phone rings and you can cradle the ball, you can easily drop the volume with the other hand and most importantly you don’t lose power to the flipper by opening the door. The only downside is that if you don’t happen to have a blank tournament button and the relevant plug inside the door, it’s not really the kit to buy unless you fancy some DIY. You’d have to drill a hole and likewise if you didn’t have the correct harness inside you’d be cutting wires and fitting connectors –possible but much more hassle. The Pin-Vol external volume control is available from Pinball Life and Flipper Fidelity and costs $29.95 plus delivery.
© Pinball News 2014 |